UI Testing
Before we start, Please refer this post for basic Unit Testing.
This automated tests will check our UI Behaviour.
Unit Testing is for Logic Testing and UI Testing is for Components behaviour Testing.
First Step
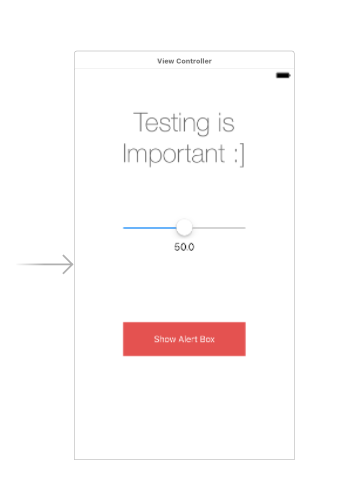
Slider and Button Behaviour Testing
Add ViewController and drag
- Slider
- Label for Slider Value
- Button
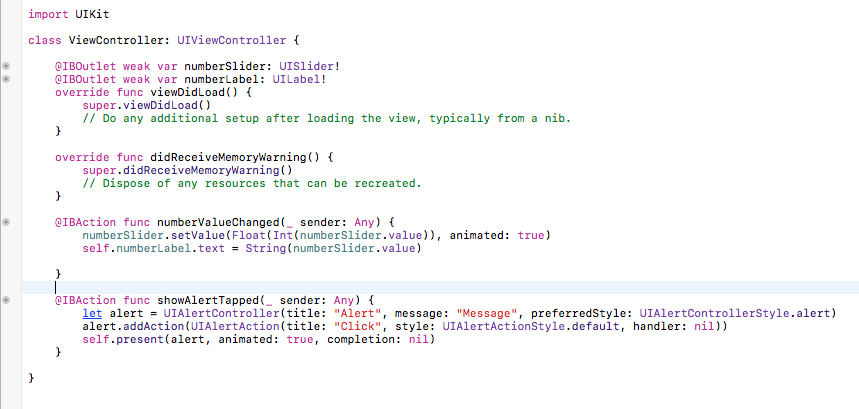
Now attach outlet with particular components
Slider – @IBOutlet weak var numberSlider: UISlider!
Label – @IBOutlet weak var numberLabel: UILabel!
And add two Events
Slider Changes – @IBAction func numberValueChanged(_ sender: Any) { }
Button Tapped – @IBAction func showAlertTapped(_ sender: Any) { }
Second Step
We have to assign Identifiers to those components which you want to observe.
Eg.
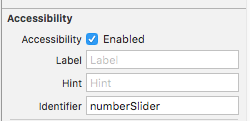
Third Step
Now here the Testing Part comes into the picture.
Add New UI Test Target in UI Targets.
Create Simple Function and Write
app.sliders["numberSlider"].adjust(toNormalizedSliderPosition: 0.6)
This will increase slider value automatically and tests its behaviors.
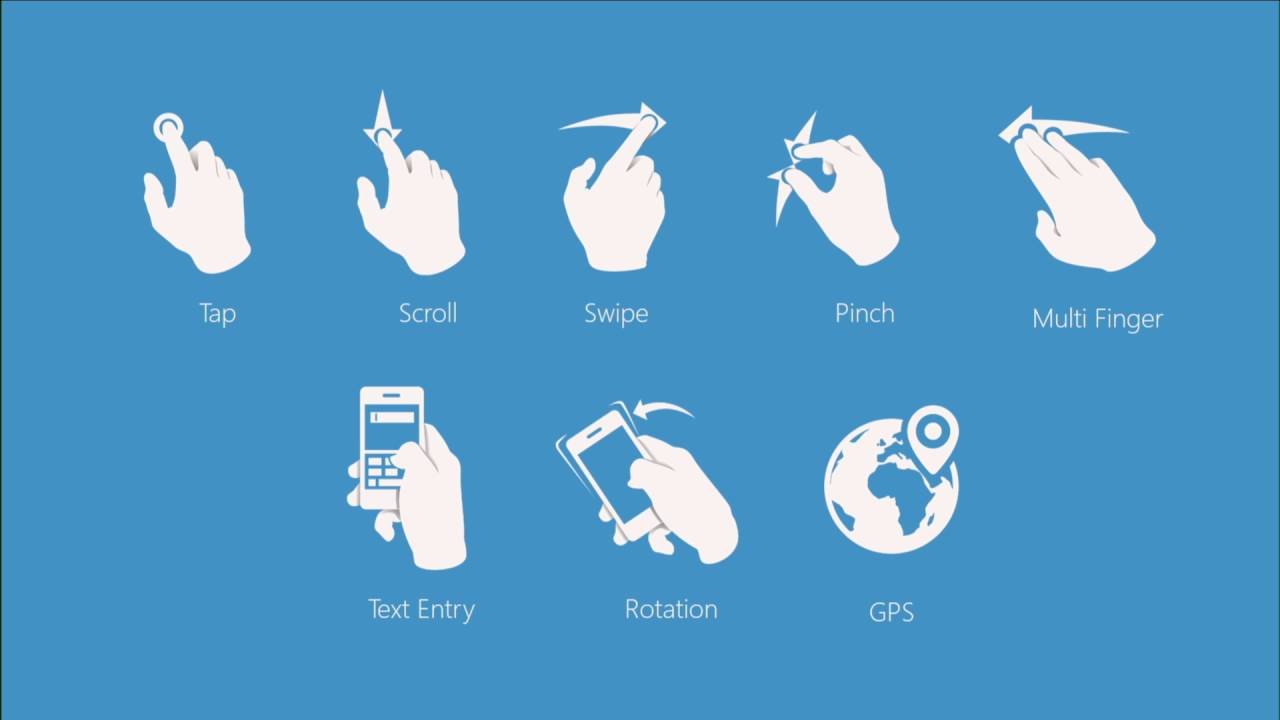
Number of Events
- Tap on button
- Adjust to Normalized Slider Position for Slider
- Tap on TableViewCell
- Go to Next Screen
- double tap
- pull to refresh
- swipe
- Fill the TextField
One can Actually see components moving or their behavior while the test running.
Here you can download full Project source with Unit Testing & UI Testing.
You might also like
Stay ahead in tech with Sunflower Lab’s curated blogs, sorted by technology type. From AI to Digital Products, explore cutting-edge developments in our insightful, categorized collection. Dive in and stay informed about the ever-evolving digital landscape with Sunflower Lab.