Getting Started with Flutter Packages
By developing several application using Flutter Framework, as a developer, we get to know that there are a couple of things which we can reuse across the different projects for same or similar functionalities. To achieve such reusability, there are 2 different approaches that we can take:
•Have that feature or UI as custom component and use same file by copying it to required project.
•Make it like accepting values in two different groups: required and optional. For optional parameters, we can have some pre-defined values if not passed. Now use this component as a custom widget to be used from separate Flutter Package.
The second option is pretty good to use that component as separate Flutter Package. The benefits of this is we can always extend it as per our requirements and also update it along with updating Flutter framework.
In this article, we’re going to learn how we can develop our own Flutter package and how to utilize it as best for ongoing Flutter Projects. For simplicity, we’re only going to define a method in package to accept:
•context – to have proper context from calling screen.
•title – title for alert dialog.
•message – content for alert dialog.
We’re going to define a class named “SFLAlert” with a simple method displaySimpleAlert to display dialog with only title and content on it.
Step 1 Create a Flutter Package Project
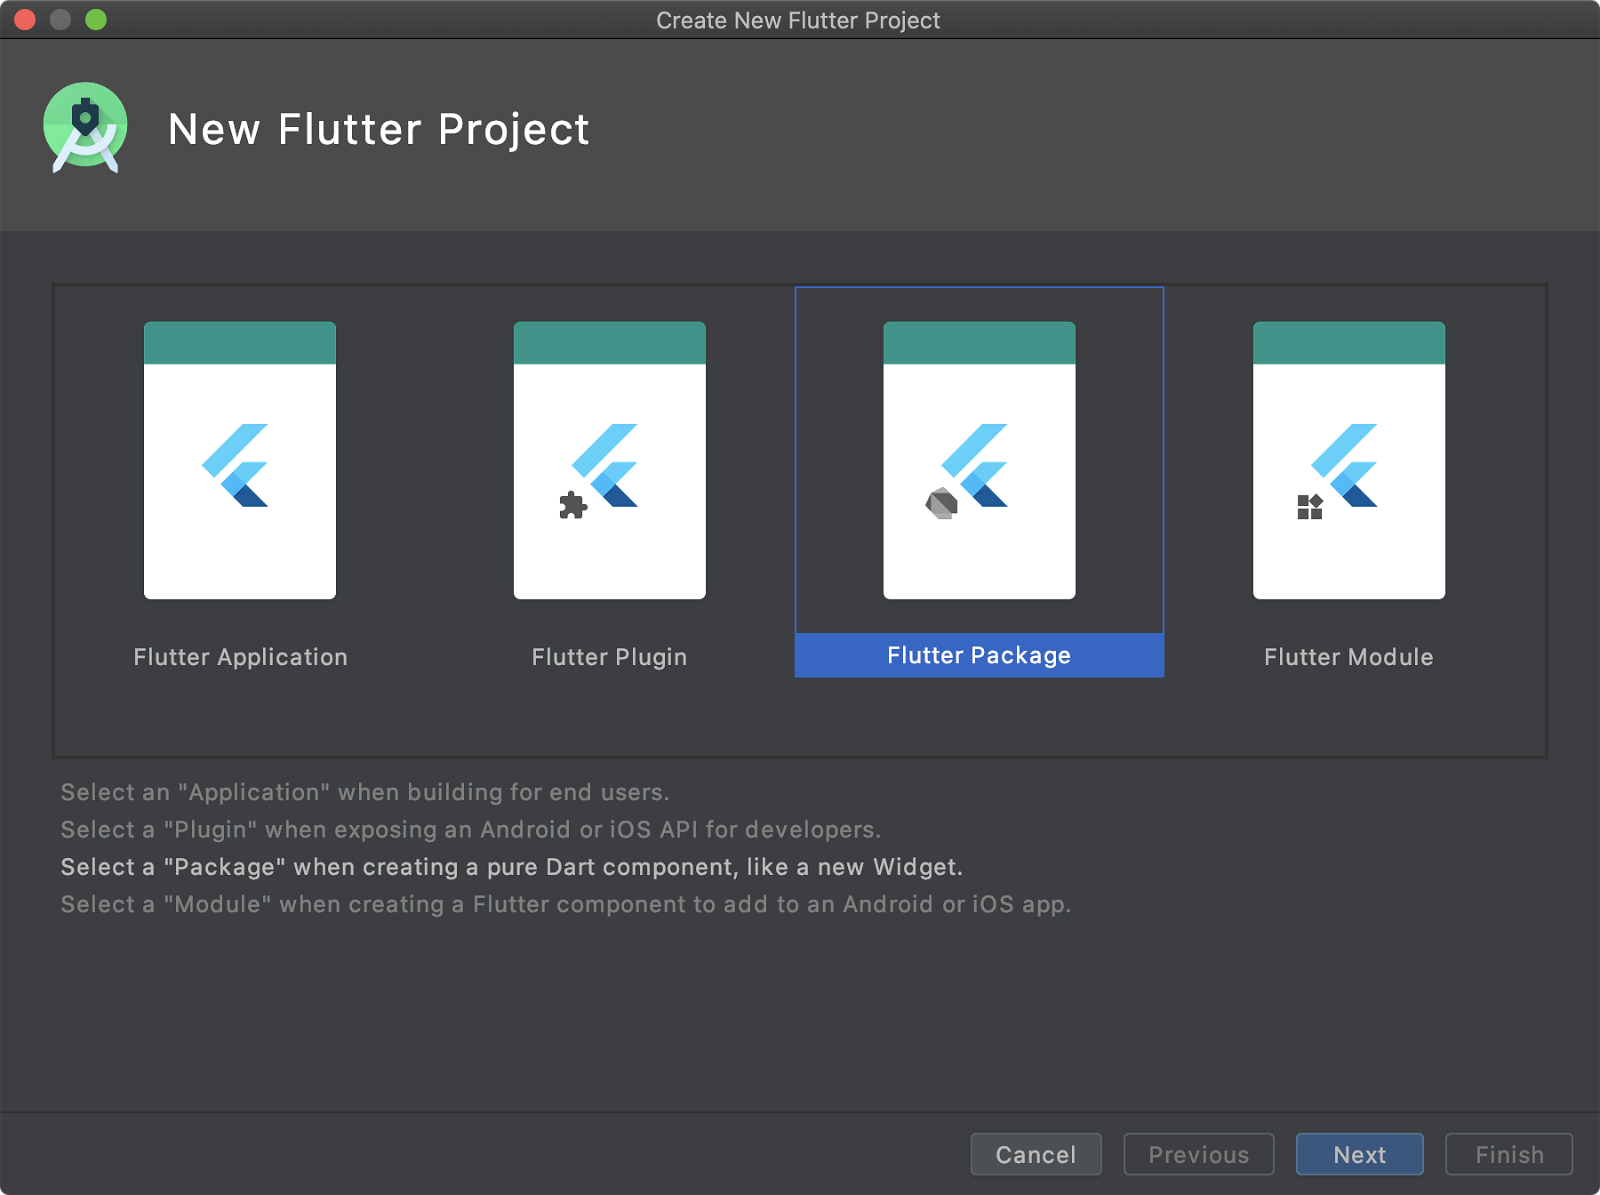
Just like any other Flutter application, we need to start with Flutter package. Give additional details like the name of the package (SFLFlutterPacakge) and other things. Once everything is done, we’re ready to add our required functionality.
Step 2 Feature Development
Similar to normal Flutter application architecture, the same architecture can be used for Flutter package. Inside lib folder, create a folder named “sfl_alert” and create a dart class SFLAlert.
Now create a method named “displaySimpleAlert” with the parameters as we discussed earlier as displayed below.
///Display Simple Alert Dialog
static void displaySimpleAlert({
  required BuildContext context,
  required String title,
  required String content,
}) {
  	///Alert Dialog Implementation
}
We have kept these parameters as required parameters as we make sure we have passed context and content to be displayed to this method call.
Now to display AlertDialog, we only need to implement showDialog method of Flutter framework with required parameter as shown below.
///Alert Dialog Implementation
showDialog(
context: context,
  builder: (context) => AlertDialog(
    title: Text(
      title,
      textAlign: TextAlign.center,
      style: Theme.of(context).textTheme.headline5!.copyWith(
            fontWeight: FontWeight.bold,
          ),
    ),
    content: Text(
      content,
      style: Theme.of(context).textTheme.headline6!.copyWith(
            fontWeight: FontWeight.w300,
          ),
    ),
  ),
);
Now with this, the feature development is done. We know this is the basic and simple one, but it will be easy to understand the simplicity of Flutter package building. Next, we have to make this feature available to use it in another Flutter projects.
Step 3 Export Developed Feature
Inside lib folder, create a dart file named the same as our developed package name “sfl_flutter_package.dart.” On top of the file, add a line defining this project as a library as shown below.
library sfl_flutter_package;
Now, write a line to export our Step 2 developed feature using below line.
///SFL Alert
export 'src/sfl_alert/sfl_alert.dart';
This will make our SFLAlert class to be imported from flutter projects where this package is used.
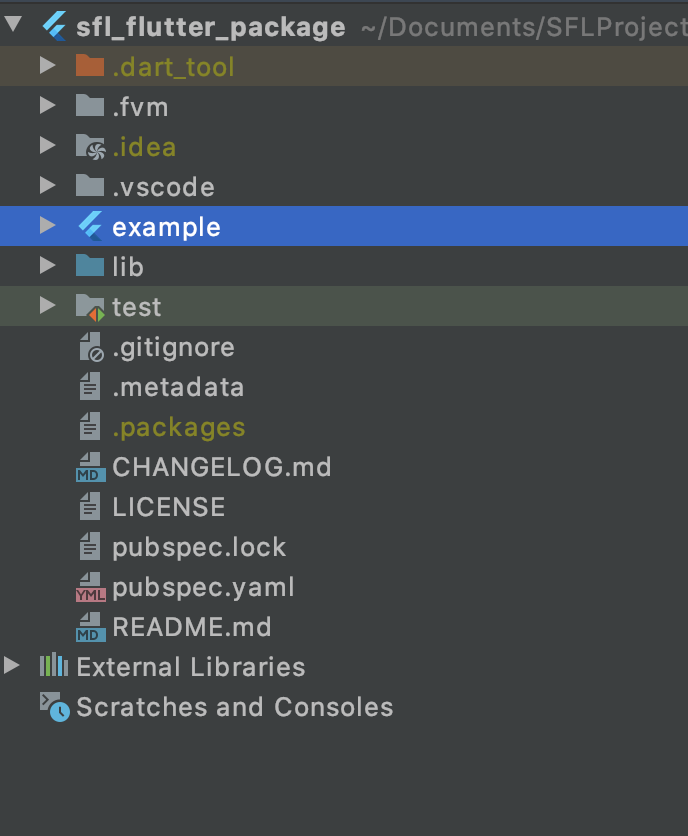
Step 4 Add an Example to Flutter Package
Next, to test during development and to give best practice of more insights for proper utilization of features available in package, we need to add a Flutter application giving usage guidelines of features available in package. So, create a Flutter application named example inside our package directory. It must look like below.
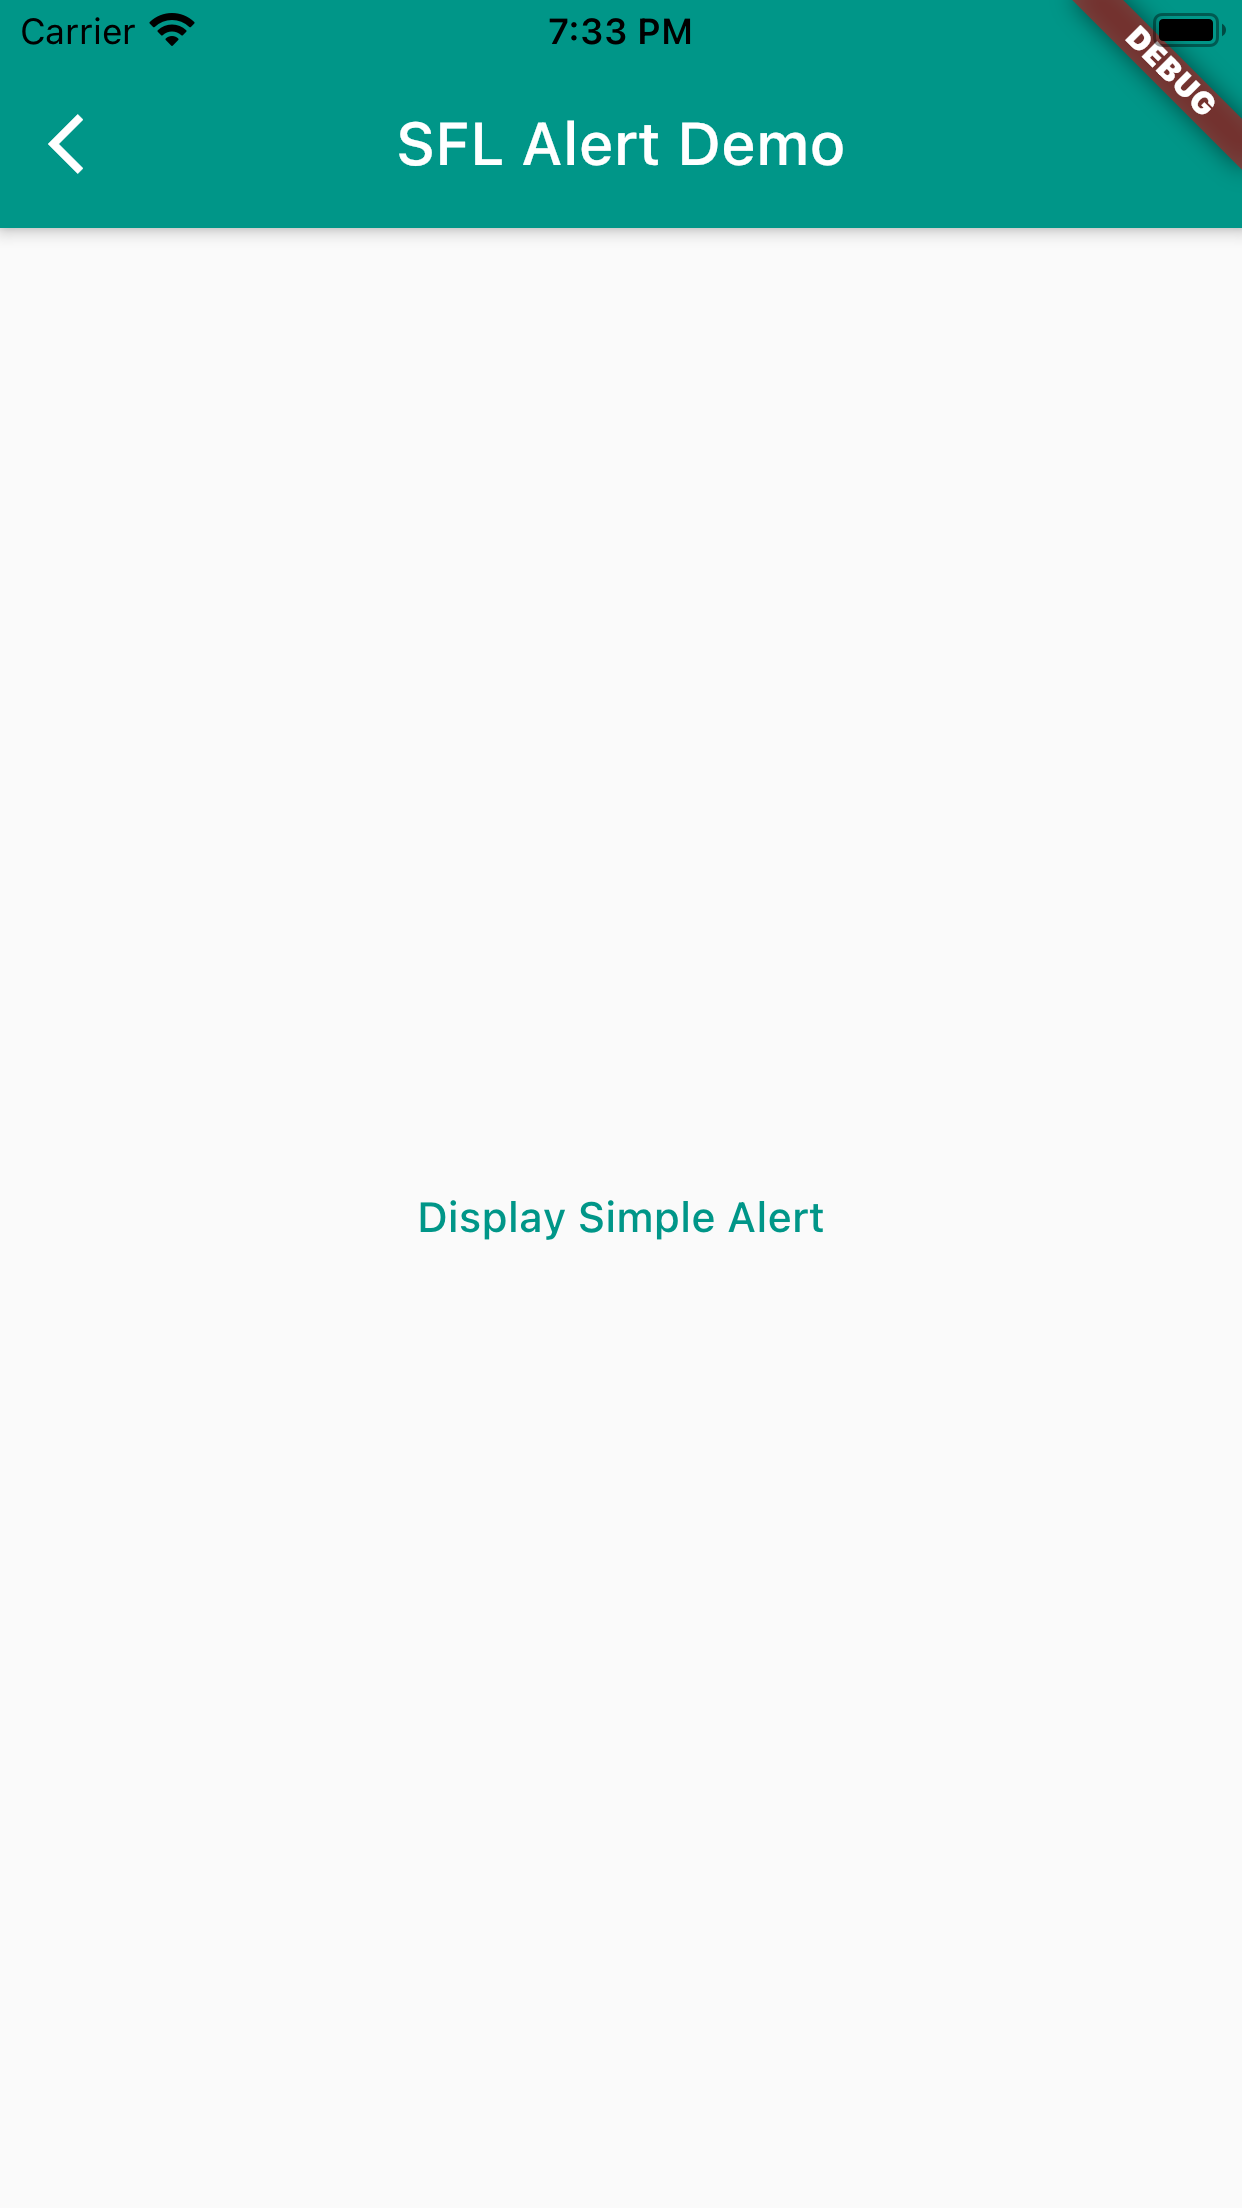
Now, in this example app, we’ll display an entry screen displaying a button on center of the screen. Tapping on this butto,n we’ll be calling feature we developed in our package to display an AlertDialog. But before that, we need to add our package to be used in this example flutter application.
To do so, we need to update pubspec.yaml file of example app as shown below.
dependencies:
  flutter:
    sdk: flutter

  sfl_flutter_package:
    path: ../
This will reference our package same as the other packages we are using from pub.dev.
Next, as mentioned earlier, we’ll be displaying an AlertDialog by calling method developed in Flutter package with a tap on a button being displayed in center of screen. Check below code.
class SFLAlertDemo extends StatelessWidget {
  @override
  Widget build(BuildContext context) {
    return Scaffold(
      appBar: AppBar(
        title: Text('SFL Alert Demo'),
        centerTitle: true,
      ),
      body: Container(
        alignment: Alignment.center,
        child: TextButton(
          child: Text('Display Simple Alert'),
          onPressed: () => SFLAlert.displaySimpleAlert(
context: context,
title: 'Alert',
content:
    'You\'re viewing alert of Flutter Package triggered from Flutter Application.',

),
      ),
    );
  }
}
Here we do have only single TextButton on center of the screen, where tapping on it, will call defined method of package class SFLAlert.displaySimpleAlert with required parameters context, title and content. Below is the result we’ll get.
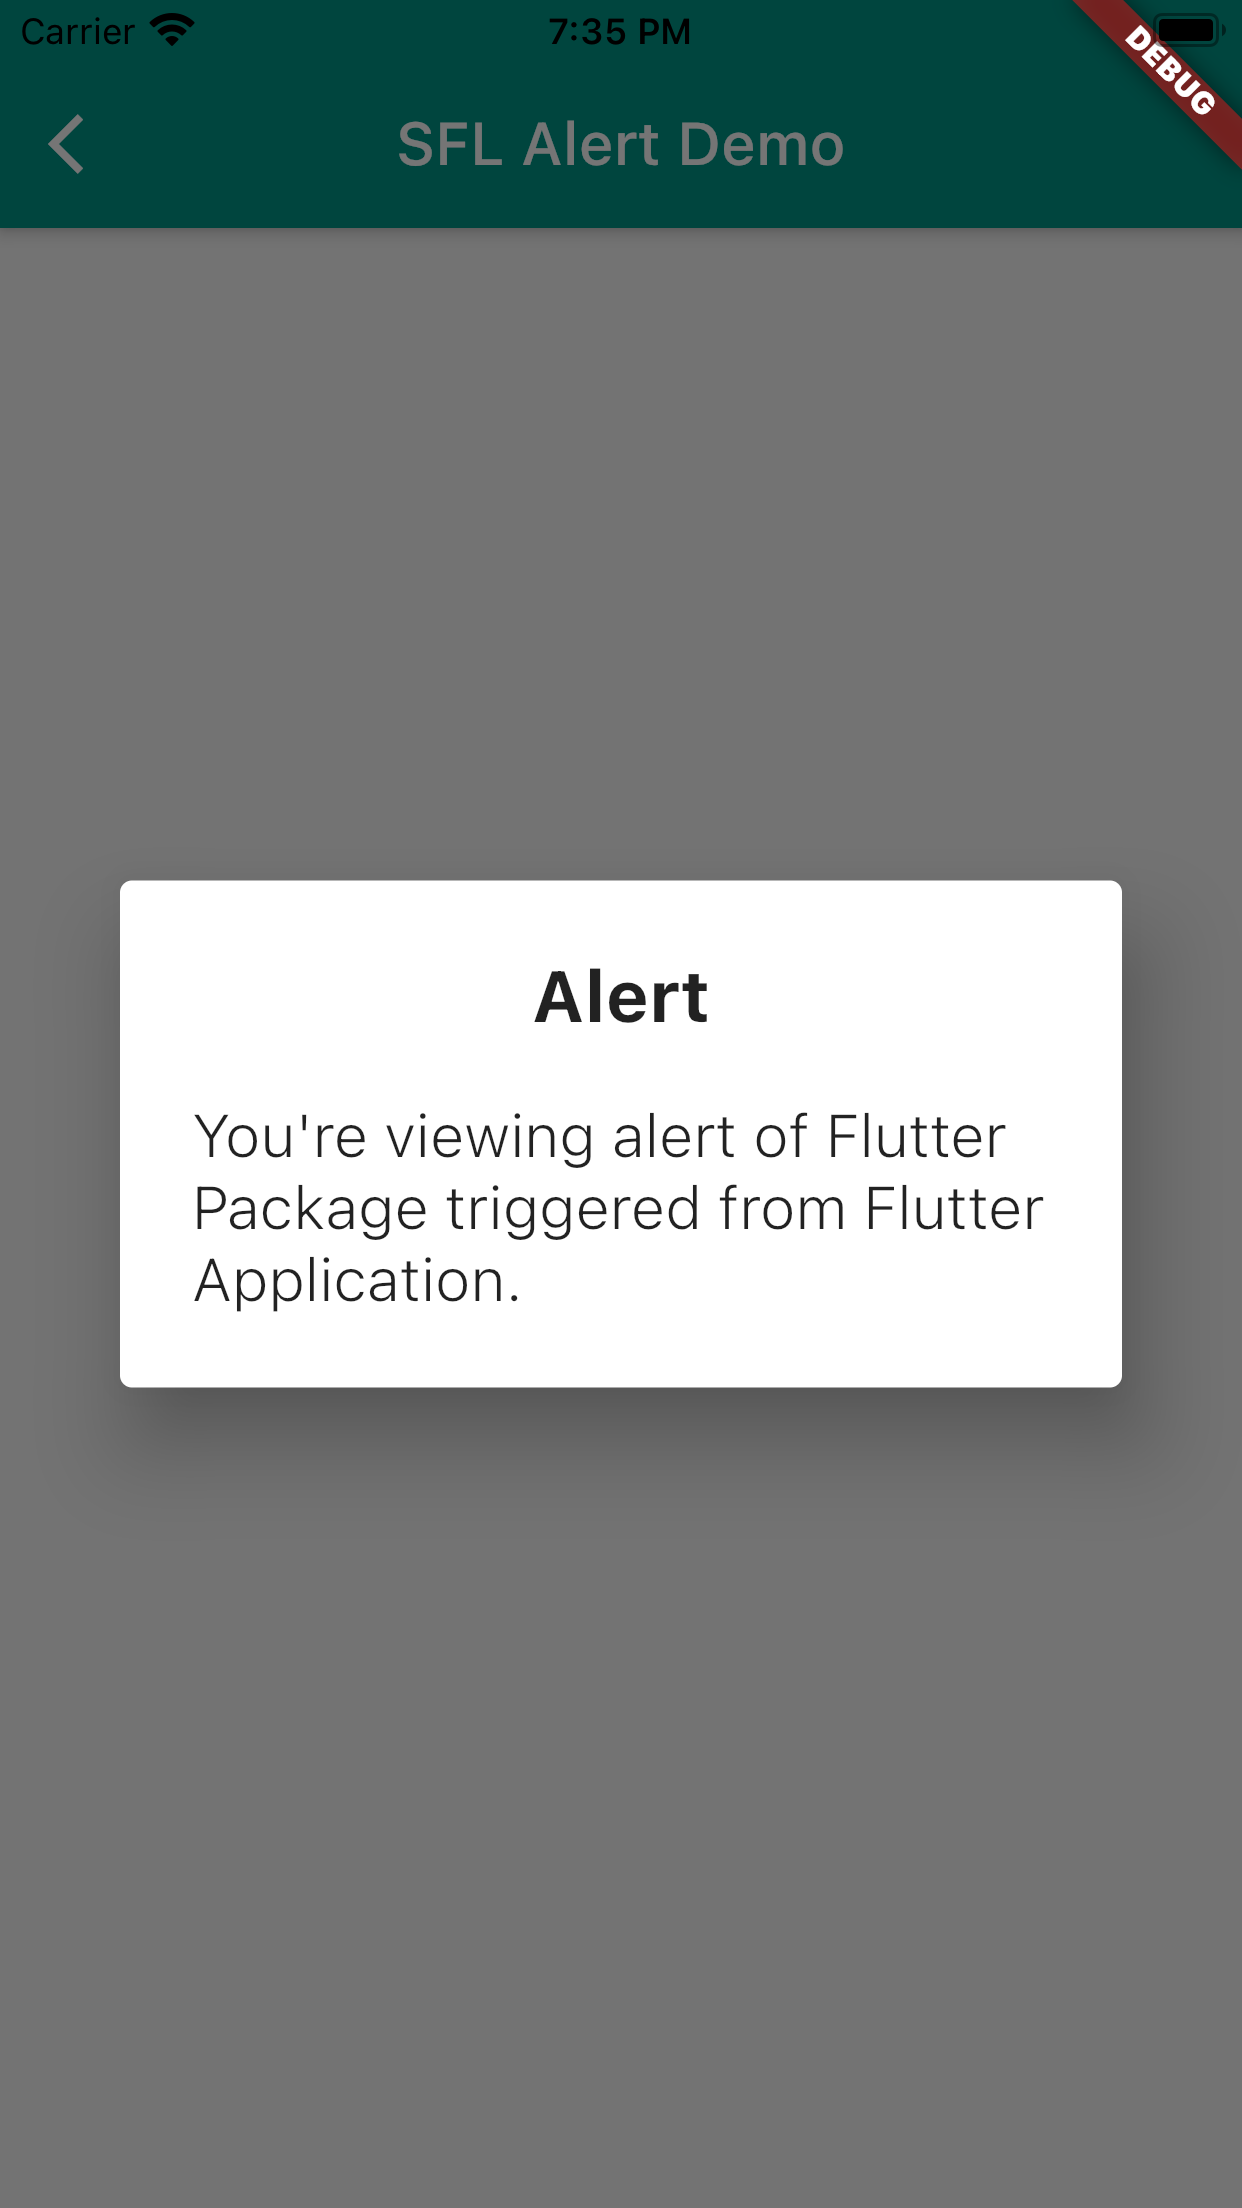
As a result, we have successfully developed a Flutter package and consumed in it a Flutter application to display an alert dialog with title and content text on the screen. To extend it, we can also define other parameters for:
•Styling of text being displayed
•To display an optional icon beside title
•To display positive and negative feedback button to perform some action further.
And a lot more…
More Flutter Package Action Items
Along with creating and consuming a Flutter package, there are a few things which we need to take care as specified below.
pubspec.yaml file of flutter package
This file contains some information about our Flutter package like name, description, version, author, and homepage which we can add to provide more details to the consumers.
CHANGELOG.md
This file contains the changes of specific version as we move further in our package life span.
LICENSE
Choose an open-source license for your Flutter package. Mostly we can go with MIT LICENSE.
Publishing a Package
To do this, we have to push our package to Github repository. Once done we can use below command to publish out package to pub.dev
- Flutter packages pub publish
Executing this will give a link in command line to verify our email address and pub.dev send us an email about our package.
Hence, this is how we can create different features in the same package at organization level as well as publish it globally for global developers and keep adding more and more to get the best out of it. We hope you’ve learned more about how to build and release your own Flutter Package. Please come back to Coding with Sunflower Lab to learn more. Until then, happy coding!
Get a FREE quote on your project today!
Your idea is 100% protected by our Non-Disclosure Agreement
Related Posts
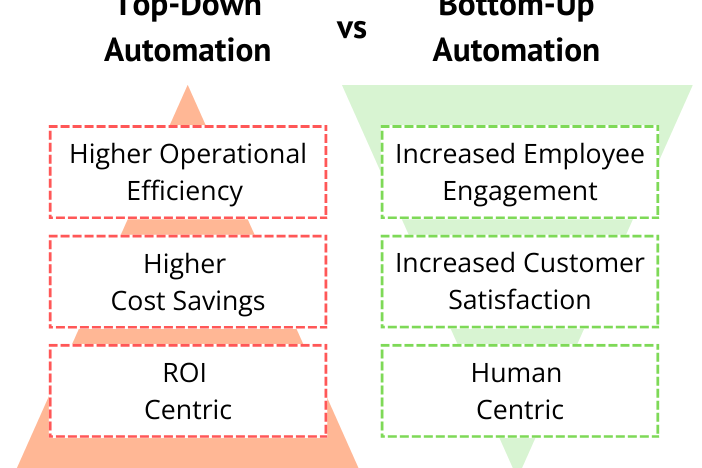
Top-Down vs Bottom-Up: Which Automation Approach Should You Choose?
With over 78% companies implementing RPA, it’s time you give it a thought too and to guide you through it, we have a rundown of two…
Top 5 Power BI Hiring Mistakes to Avoid
Building a robust analytics team is essential for modern businesses. Power BI, a powerful data visualization and business intelligence…
You might also like
Stay ahead in tech with Sunflower Lab’s curated blogs, sorted by technology type. From AI to Digital Products, explore cutting-edge developments in our insightful, categorized collection. Dive in and stay informed about the ever-evolving digital landscape with Sunflower Lab.